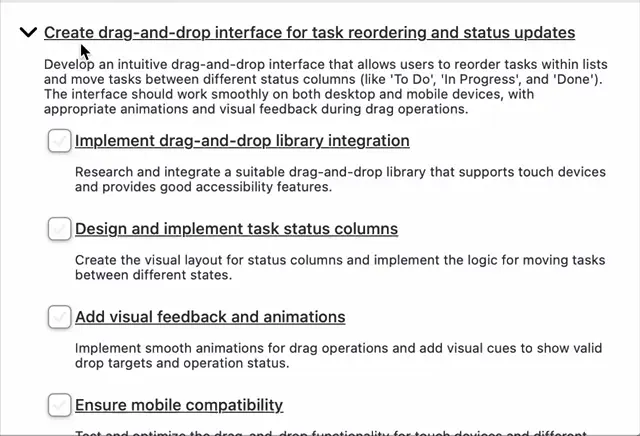
I like to use dispatch to drive/trigger UI interactions that require multiple Stimulus Controllers. The dispatch in Stimulus encapsulates JavaScript’s own event dispatching functionality, making it simpler to use. I’ll show you how I’m using it in Masterlist, a task management app which I’ve built.
Here is a very simple example of dispatch in action. When user clicks the checkbox in Masterlist, it emits an event. The other checkbox under the overlay is listening for that event, and changes it’s status accordingly.

Example
Here are two containers, <main> and <aside>. They both checkboxes with Stimulus controllers attached to them. When you click the checkbox in <aside>, the change should reflect to a checkbox in<main>.
<main>
  <label>
    <input type="checkbox"
          data-controller="checkable"
          data-checkable-id-value="1"
          data-action="checkable:statusChanged@window->checkable#setStatus">
    Cats
  </label>
  <label>
    <input type="checkbox"
          data-controller="checkable"
          data-checkable-id-value="2"
          data-action="checkable:statusChanged@window->checkable#setStatus">
    Dogs
  </label>
</main>
<aside>
  <label>
    <input type="checkbox"
           data-controller="checkable"
           data-checkable-id-value="1" data-action="click->checkable#toggle">
    Cats
  </label>
  <label>
    <input type="checkbox"
           data-controller="checkable"
           data-checkable-id-value="2" data-action="click->checkable#toggle">
    Dogs
  </label>
</aside>
The checkboxes in <main> will lister for custom checkable:statusChanged events. The checkboxes in <aside> lister for JavaScript DOM click events. Those events enable the communication between the different checkboxes.
The checkboxes also have [data-checkable-id-value] that is used to define a value for Stimulus controller. It’s used to distinct the checkboxes from each other, the id is shared between a checkbox in <main> and <aside>.
Stimulus Controller
This is the controller that handles the communication between two checkboxes. The id is the identifier between the checkbox in <main> and <aside>. It’s the secret sauce to syncronize the checked-attribute between the two checkboxes.
The checkable:statusChanged@window->checkable#setStatus in HTML is the part where the listening controller action is defined. In order to listen events emitted outside the controller’s scope, you need to add @window after the event name.
// checkable_controller.js

import { Controller } from "@hotwired/stimulus"

export default class extends Controller {
  static values = {
    id: Number // shared identifier of checkboxes in <main> and <aside>
  }

  setStatus(ev) {
    const id = ev.detail.id;
    const checked = ev.detail.checked;
    if(id == this.idValue) {
      // without the id == this.idValue check, this code
      // would run on every checkbox inside <main>
      this.element.checked = checked;
    }
  }

  toggle(ev) {
    // this.idValue is the shared identifier of
    // checkboxes in <main> and <aside>
    const detail = {
      id: this.idValue,
      checked: ev.target.checked
    }
    // better to use descriptive events, so
    // let's go with 'statusChanged'
    this.dispatch('statusChanged', { detail: detail })
  }
}
That’s about it. The example above is also in Codepen.
Stimulus controllers are so simple that the blog post is short as well! 🙂